STEP 1:
taking the lens into the use
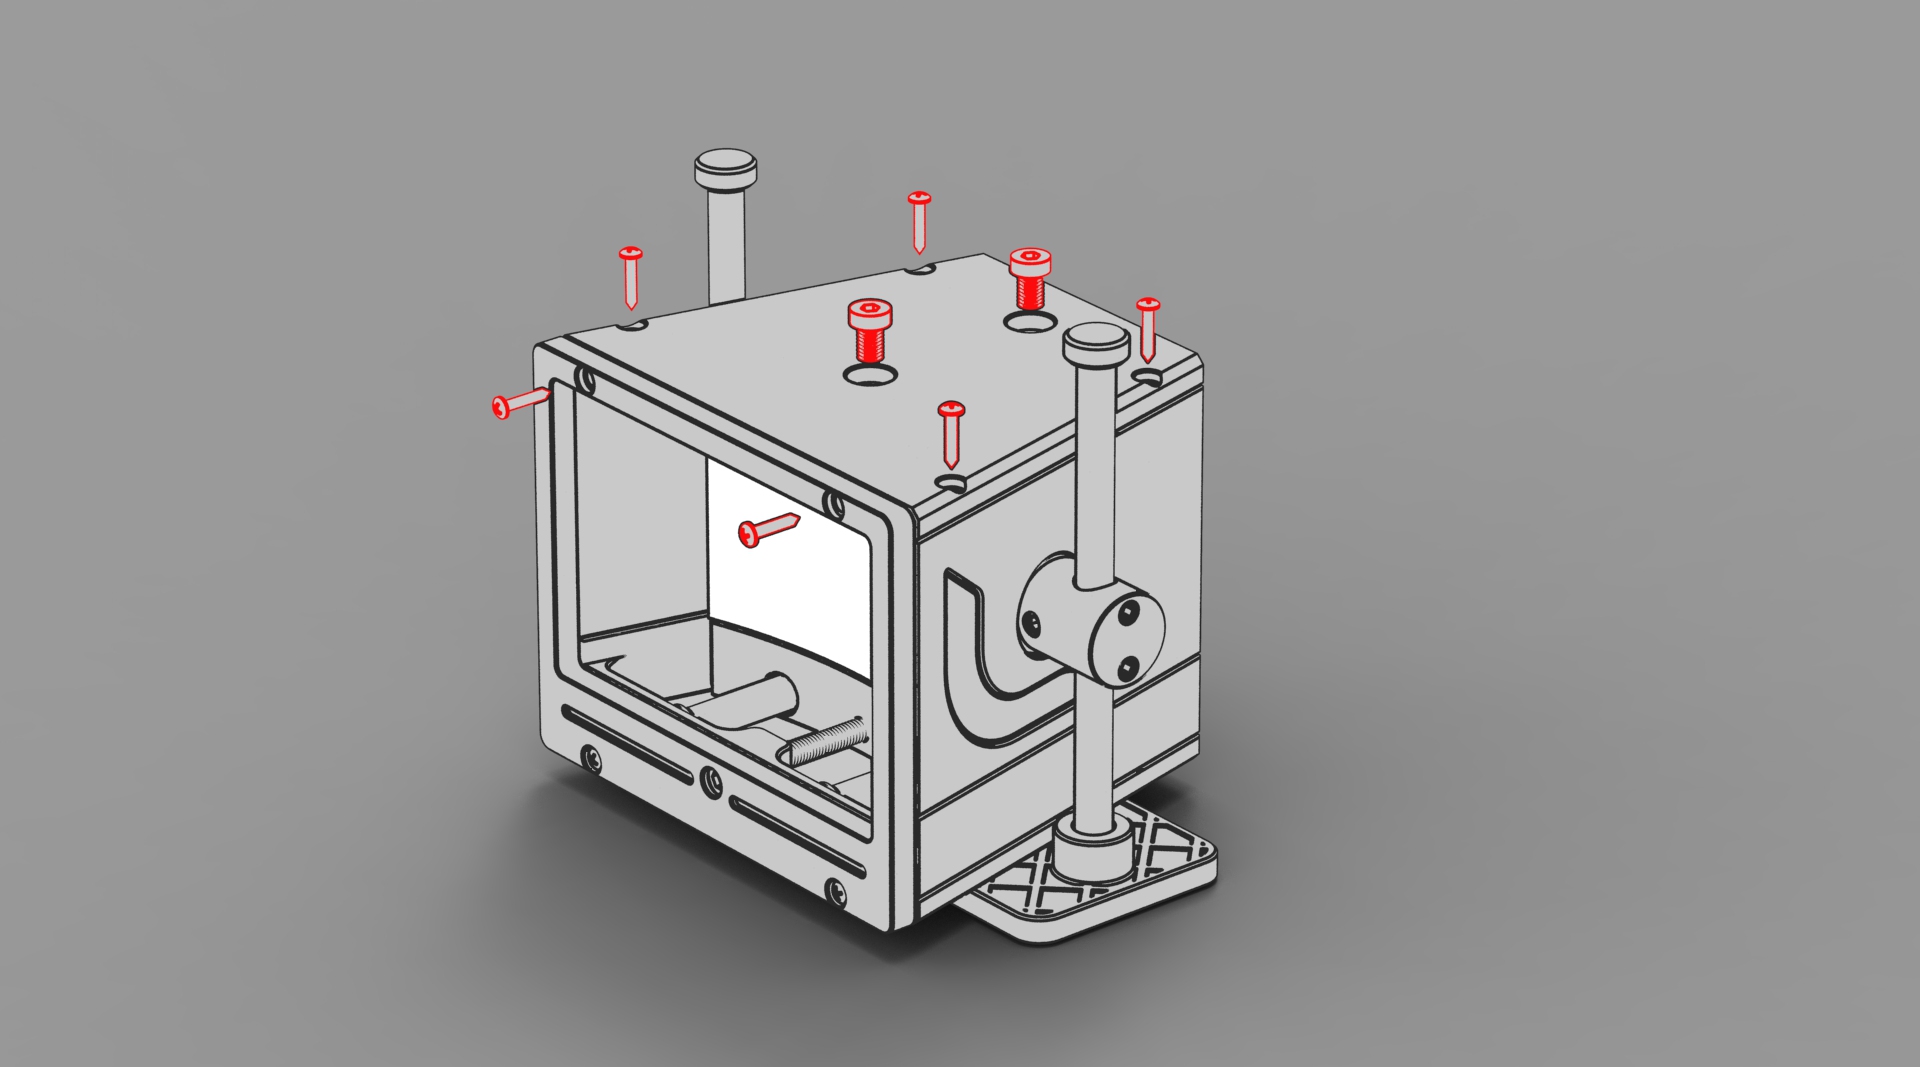
By using the L-wrench, carefully remove PERMANENTLY the two delivery lock bolts of both lenses from the bottom plate. Also now using the screw driver, temporarily remove the bottom plate of lens by releasing the six screws, shown in the picture.
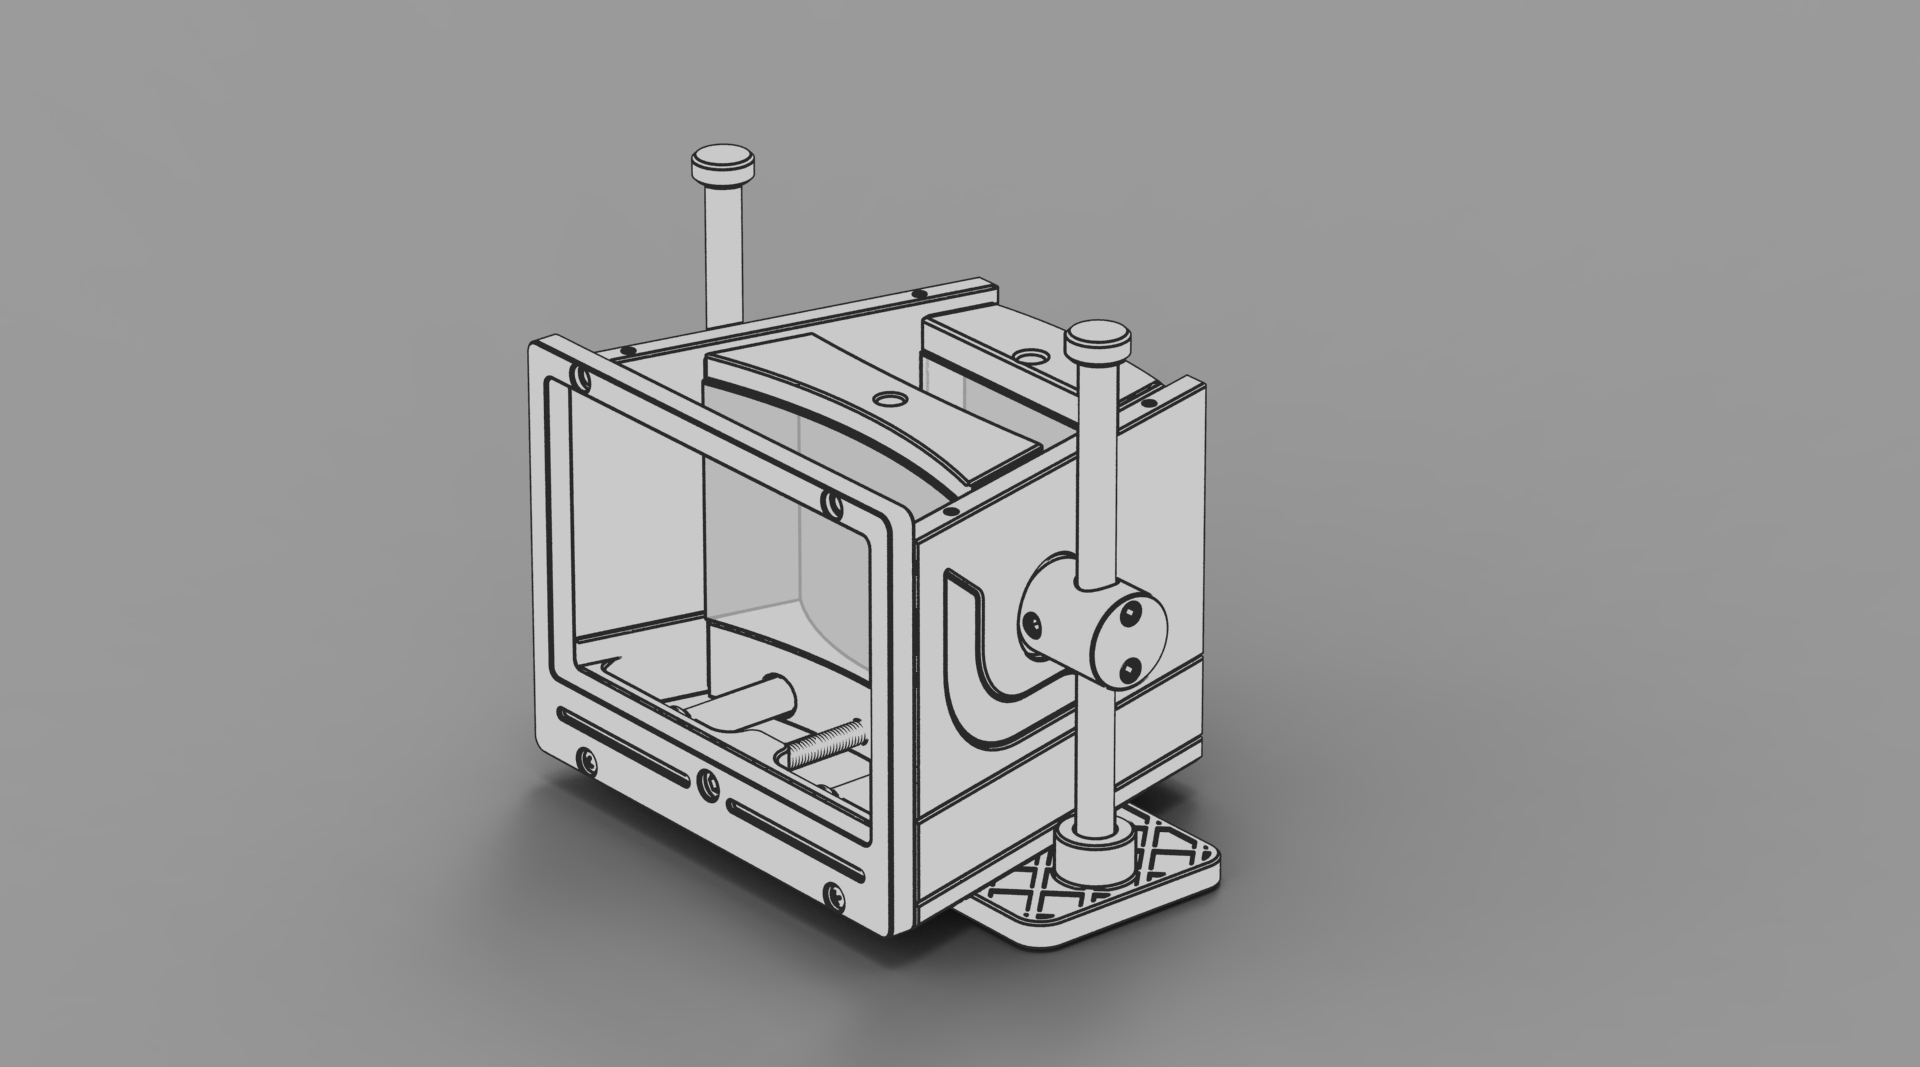
Next, carefully remove the four white optics cover sheets from the lens openings.
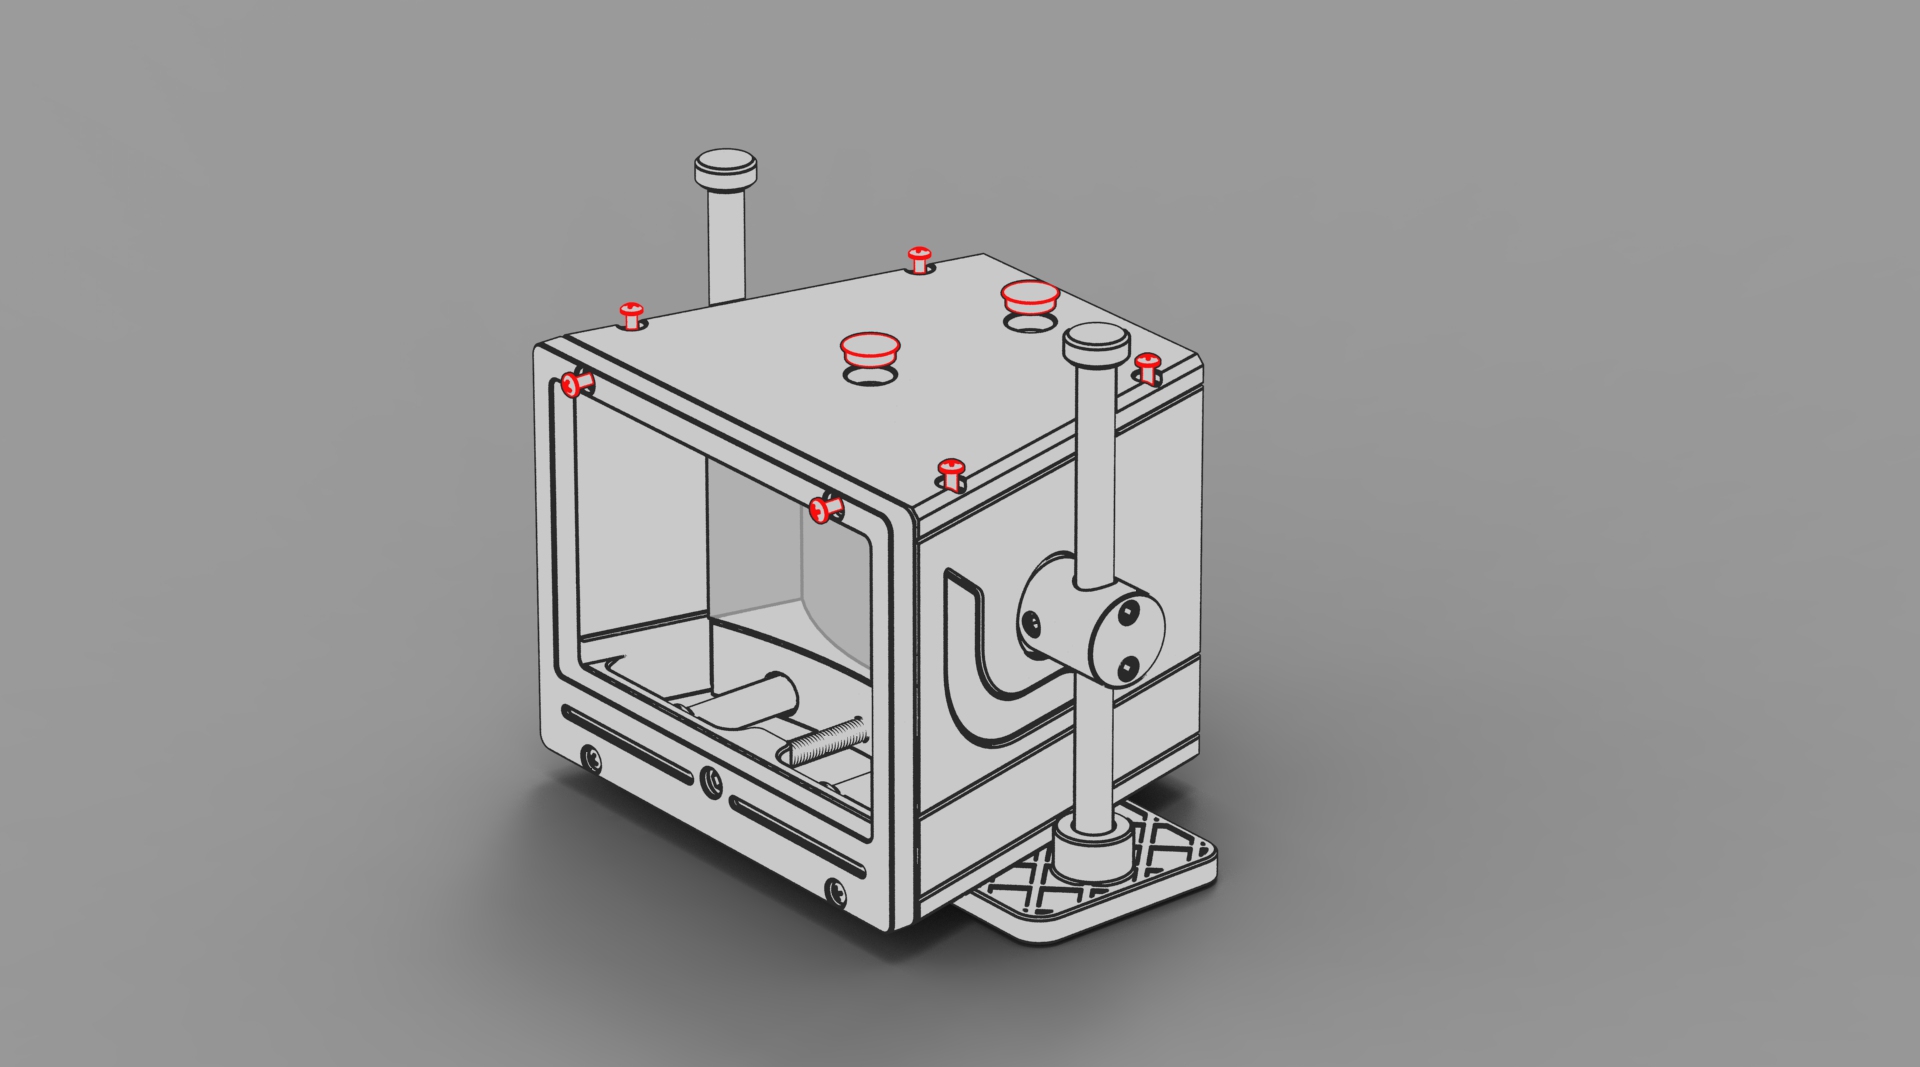
Insert the bottom plate back, and tighten the six screws back to their slots. Also attach two black caps into their places on bottom plate. IN ORDER TO AVOID DAMAGES IN PARTS, DO NOT USE THE ELECTRICAL TOOLS OR TOO MUCH FORCE IN TIGHTENING THE SCREWS.

Finally, lift the lens up and flip it 180 degrees in a stand.
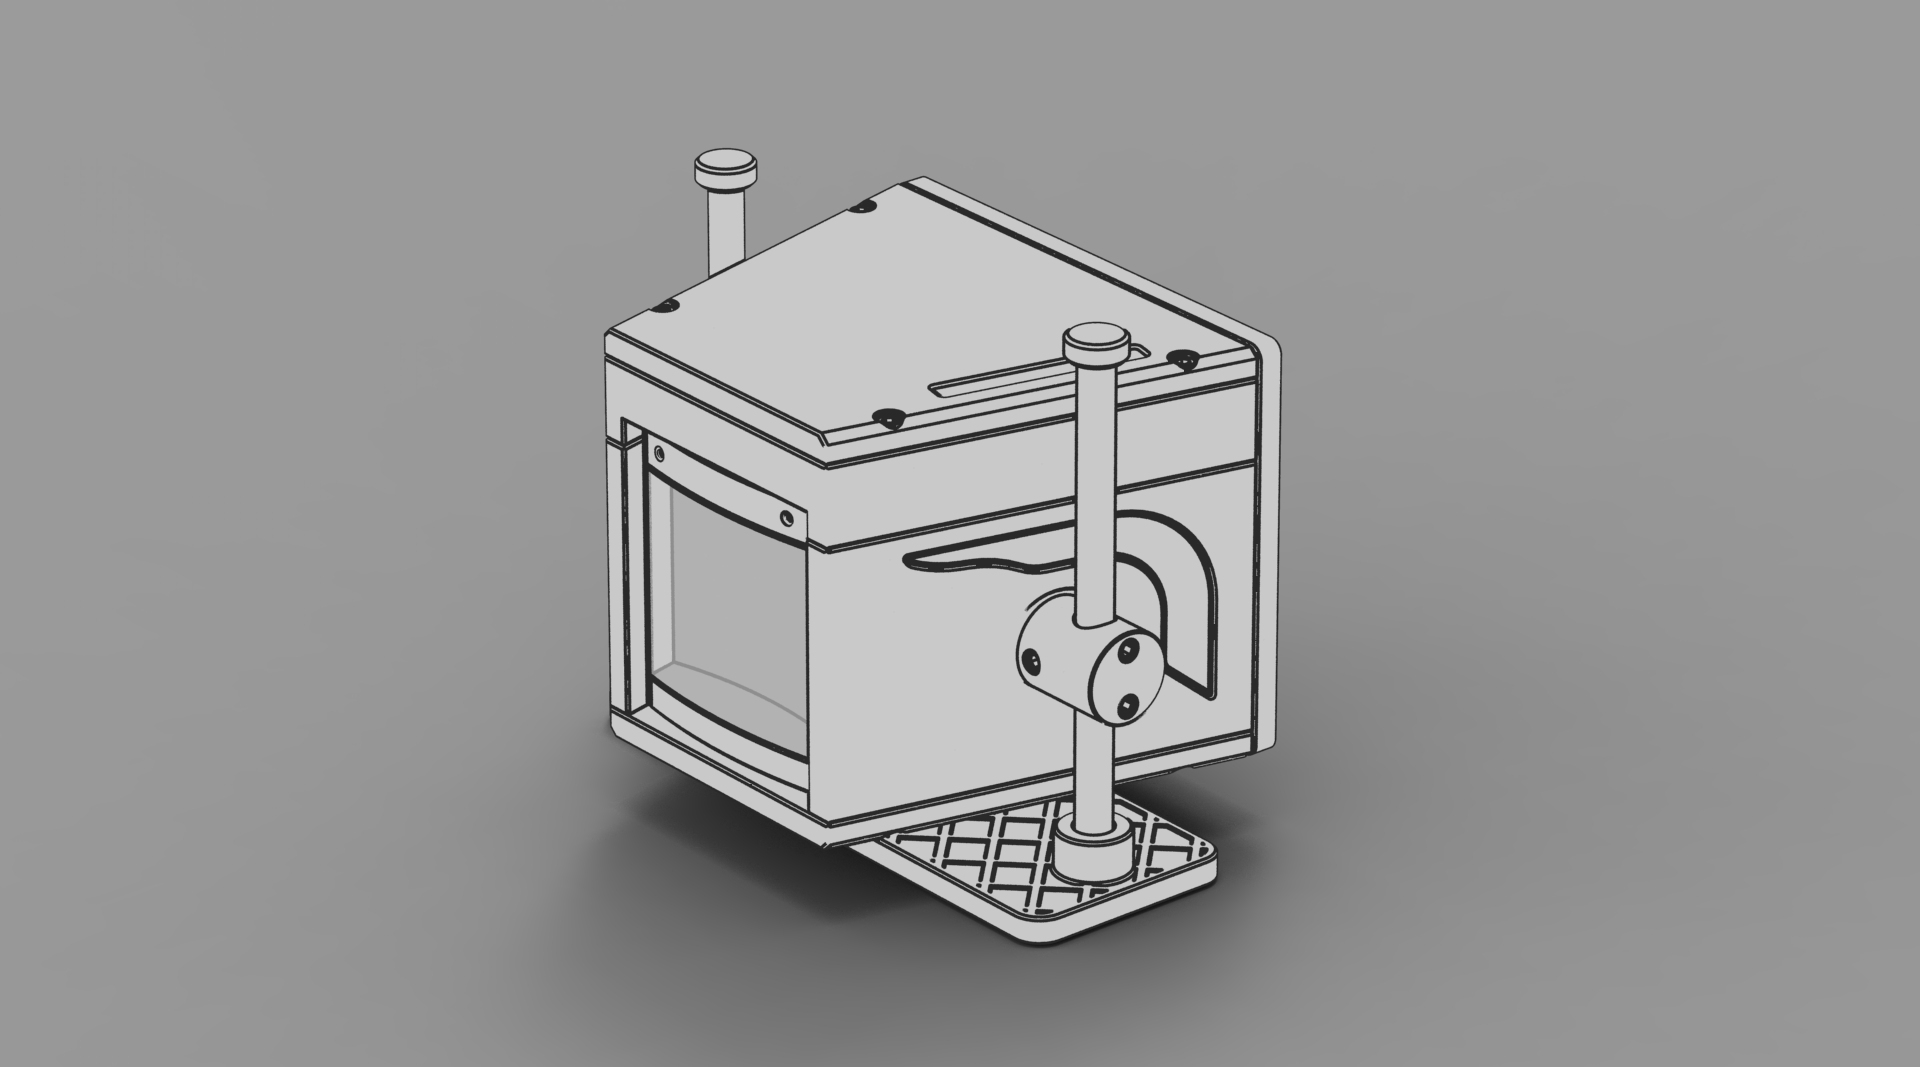
After turning around, push the lens back down in a stand. Your lens is now ready for setting up!